wtorek, 8 grudnia 2015

Custom phone stand 3D printed

This project is here just to test idea how easy it would be to match complex real world objects without technical drawings. Sometimes I just want to make small improvement in my office or home space, that is not necessarily useful, but it's fun and learning experience.

Design

I wanted to have a stand for my HTC Desire 620. It is equipped with special "dot view" sleeve that should be included. Top buttons should be available, and front camera and microphone shouldn't be obstructed.
I envisioned two custom pockets on both phone sides joined together with aluminium bar or pipe or angle, whatever is on hand. After looking through my scrap bin I found suitable aluminium angle.

Drawings

I started with profile picture of phone with cover open - the way it would be inserted in a stand. Try to go as perpendicular as possible. Start from upper side, and lower camera until front screen panel disappears.


Then I cropped image along one critical dimension (thickness of the phone and cover in this case), and imported image to QCAD setting image height to measured value.
Then phone outline was traced with polyline tool.
Now picture can be deleted and outline should be exported as SVG

3D model

I pondered of choice between OpenSCAD and Autodesk 123D Design for 3D modelling. Ultimately I chose 123D Design because I didn't need any parametrization, and I wanted to get it done quickly.
That happened to be problematic, because 123D was notoriously crashing silently when trying to import SVG exported from QCAD. I finally managed to make it work going through Inkscape as intermediate process.
Make sure that dimensions are correct after import. This is inside profile, so it needs to be extruded, then outside shell of 2mm thickness is created. Now there is time to remove some external walls, add few bevels, and cutouts for camera.
Then I added bottom tilted stand part. with cutout for aluminium angle that will be glued in to hold both stand parts together.

Test print

Before going with full print I cut small slice from object to test fit. It was really quick couple minutes print, and this is the part where 123D shines. It's extremely easy to cut 3D object into smaller pieces.

Full print

After I was happy with test print fit I exported combined objects to STL, and loaded one side of holder to RepetierHost. Then I added another mirrored copy for right side.
Object was printed in ABS. I had one failed print when I forgot to slow down travel speed. If travel speed is set too high I experienced print head hitting objects while passing over edges, and then x-y stage is loosing steps messing print out. When I print multiple objects I usually lower travel speed to 40mm/s, single object can go with travel speed over 100mm/s. There is an option in slic3r to avoid crossing perimeters, but it seems to work incorrectly when there are multiple objects placed on the stage.

Test fit with aluminium angle
 Final version glued with epoxy

 Lessons learned

This technique can be used for close wrap around any object that has extractable 2D profile. It allows for close fit around complex profiles.
123D design has some bugs in SVG import, so next time I'll give OpenSCAD a try.

Attachments

wtorek, 11 marca 2014

Converting toy power source from batteries to LiIon cells

  Most electronic toys for young use non-rechargeable batteries to run. For some of them it's ok, because power consumption is low enough, but for the others it's terrible choice made by manufacturers.
One example of such a power hungry toy is this Winnie the Pooh.


  It contains one motor for swinging, one electromagnet for mouth movement, and quite powerful speaker. All of this is supposed to run from three AA batteries. First batteries lasted for three days, second cheap set lasted for two.
  Since 3 fully charged AA give little above 4.5V. I originally wanted to use small external Sony-Ericcson power bank laying in my drawer. Unfortunately this power bank has quite a logic built in, and expects steady load under 500mA. It worked until teddy started to move its mouth. This caused overload condition, and cut power off. That was confirmed with external power supply - it was drawing around 1A in peaks.
  It was clear that higher power output is necessary. I looked in my parts drawers, and I found old non-functional HP laptop battery. Battery had 9 cells in 3 banks, and by the look, and measuring voltage I confirmed that 3 of them were dead (reverse polarity, heavy corrosion). Other 6 had to be tested, voltage on each of them was around 1V (they were in this drawer for at least 5 years).
  Fully charged LiIon cell has >4V on it's terminals, and gradually discharges to around 3.3V. I verified with power supply that teddy will sing happily in this voltage range.
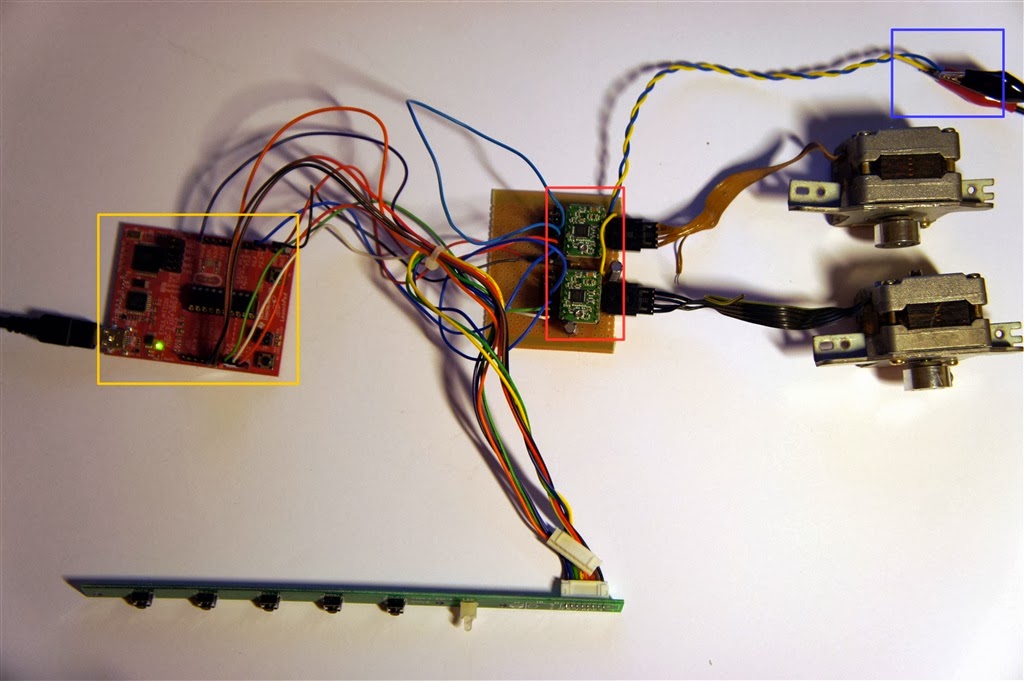
  LiIon charger was sourced from old Palm Tungsten E2 with dead mainboard. These mainboards (actually most boards in Palm devices) are nicely laid out in blocks.
  • LiIon charger with 1A/500mA current selection (decoded as TI bq24023)
  • 3.3V switching regulator (decoded as TI tps62020)
  • Processor block with memories, and local voltage regulator 1.2V (probably TI lm3674)
  • Bluetooth, IrDa, Audio, and small LDO regulator, possibly for SD card slot (tps73633)
  You can simply cut board part that you need. I needed battery charger block only, but I decided to keep 3.3V regulator block as well.
  First it's good to remove all connectors. Battery will be soldered directly to the board, and power supply will be extended to other connector to the side of the toy. Hot air gun is a tool of choice for removing large connectors. Wrapping board in an aluminum foil protects other components from accidental desoldering.
  Now it's time to test cells extracted from laptop battery. Chip bq24023 used on Palm board supports preconditioning, fast charge with current up to 1A, and charge status indication. Complete setup contains:
  • 5V power supply
  • LEDs connected to status indicator pins
  • LiIon 18650 cell
  Status leds inform about the end of charge, and fault condition.
These tests took a while, but I confirmed that all 6 cells were good. Three of them (with lower initial voltage) sometimes ended charge with fault that was probably caused by a charge timer expiration. This charger chip is optimized for palm batteries that are slightly smaller capacity as I remember. Also these cells were deeply discharged, and very old. Eventually these also fully charged.

  Next step was to actually test teddy with these batteries. I started with one cell, and it worked fine - all motors were running, and electronics wasn't resetting itself. I added one cell in parallel, just to be sure that it will last long enough between recharges. Now was a time to separate charging part of palm main board from the rest. There are two main benefits:
  1. We're ending with smaller board that is easier to fit. This is also a reason for removing bulky connectors.
  2. We're physically cutting components that could potentially drain battery.
  This was more like an experiment in this case, because there was plenty space in base part. Palm boards have very neat power rails design. Power supplies are separated with 0 ohm resistors from load. You can just desolder these to cut power to the rest of a board.

Anyway, here is charger, and 3.3V switching power supply cut.
  • Battery pack, and LiIon charger board
  • External 5V power supply connection
  • Battery output
  • Status LED

  Status LED is connected to test pad on the other side of the board. Status pins were definitely routed to main processor, but I didn't found any vias or traces on the top. They must have been routed in one of inner layers. Brown connection goes to cathode, and yellow goes from 5V input to anode. LED is powered only when external power supply is connected. Second status line was mainly showing that pre-charge cycle is in progress, so I didn't bother connecting LED.
  I decided to keep the power supply, because 3.3V regulated power may be handy one day. I just wanted to disable this chip to prevent current drain. It had disable pin connected to other 6 pin IC that appeared to be something like window comparator. I didn't find any datasheet for this one, but on one side there was string of 3 resistors connected to the ground, and other side to battery positive terminal. This suggested that it's some under voltage detection circuit. Upper and lower resistor values were in mega ohm range, so I just shorted upper one to trip under voltage condition, and effectively disabled 3.3V switching regulator.
  • Comparator chip
  • Resistors
  • Switching regulator disable line
  Last part included securing battery and charger board (you don't want flames in child toy when batteries short to something accidentally ;) with electrical tape, and attaching everything to base plate. I previously tried hot glue method, but it didn't last long. These toys are often thrown around, and hot glue is just not sticky enough. This time I went for Power-Tape. It has very strong glue, and is practically indestructible.
  For power input I used RCA connector - just because I had few laying around, and they can be easily secured to plastic case. I just needed to drill a hole, put connector through, secure with lock screw, and solder cables. It's also rugged enough to withstand fall on the floor. I press-fit LED through 3mm hole drilled.
  • Charging status LED
  • RCA power supply connector
  Finished  product connected to standard 500mA phone charger using modified USB cable with RCA jack at the end.

UPDATE (2014-12): After several months of not being used LiIon cells died. Charge cycle was starting, and falling back into error mode after few seconds. It happened that cells completely discharged to 0V. This battery pack has no undervoltage protection, as LiIon should have - only charge circuit.
Lesson learned: keep accumulators charged if not in use. Two cells were replaced with second pair from the same battery pack that way lying in the drawer, and everything was back to normal.

sobota, 21 grudnia 2013

Rewirering 5-wire unipolar stepper motor to 4-wire bipolar

I had couple of unipolar stepper motors made by TEAC, and SANYO.


They were probably removed from old hard drives long time ago, and were lying in my parts drawer. I was considering buying 4-wire motors for my project, but I spotted this blog post, and decided to give it a try. Post gives 6-wire unipolar motor as an example, but rule presented can be applied to my motors as well.

Unipolar stepper motors come in at least 2 variations:
  • 5-wire - center taps of both windings are soldered together internally
  • 6-wire - center taps are available on the connector
They are easy to drive - put supply voltage to center tap, and pull side taps to ground sequentially. Problem is that most readily available stepper motor drivers with microstepping capabilities (like A4988) drive only bipolar motors. Bipolar motors also provide better torque (however in case of rewired unipolar motor you need to provide twice as much voltage that it was rated due to higher serial resistance, and inductance).
6-wire motor gives easy access to side taps. 5-wire requires some fiddly soldering skills, and motor disassembly.

It's good to take ohm-meter and test windings before doing any soldering work. This will confirm type of motor, and winding condition.
In my case all windings showed around 75ohm.

Getting inside TEAC motors is very easy since there are 4 bolts holding back cover. Most often case is held with welded or pressed joints (like SANYO one).
One end of all windings is soldered to center tap pad (uppermost left pad).
Wires should be unsoldered, and separated.

There are 2 ways winding pairs can be soldered together. Unfortunately there is no way of telling witch is good. In my case first try was incorrect. Motor will oscillate instead of rotating when soldered incorrectly.

After soldering wires were secured with insulation tape.

Then everything was assembled, and here is my test setup:
  • MSP430G2 Launchpad board
  • Two A4988 motor drivers configured for 1/2 step resolution
  • External power supply for motors.
I can't exactly tell, but I think that motors were originally designed for 12V operation. My power supply is limited to 15V, so I couldn't actually push them to the limits. I'm going to make next post about testing torque of these motors in various stepping modes, and speeds.

Video of motor operation:


Just for curiosity, here is disassembled view of SANYO motor that was actually destroyed in process.
Main fault is cracked rotor magnet. There is a lot of cost savings visible in construction. Stator coils are just wound around in two layers, and special tabs arrangement shapes magnetic field. Rotor is casted of magnetic material similar to fridge magnets, but much harder, and fragile. Center tap is connected to 5 windings 35ohm each.

Software started from TI stepper motor driver demo that can be downloaded here. Code for this project can be cloned from github.
Code can be imported to TI CCS workspace (tested with version 5.3.0).

Update (2015/12/07):

Pictures of motor resoldering are not clear enough, and I decided to add schematics below to help understanding.

Left schematic shows motor before conversion - there are 4 windings, that all have one end soldered together with others, and going out as single wire (connector may not be drew exactly to the motor specification, pin 1 corresponds to uppermost wire in the pictures). All four winding ends labeld 2, 3, 6, 7, are spliced together, and soldered to wire 1.
Right picture shows motor after conversion. So wire splice is unsoldered, and untangled. I identify phase windings by trial and error, and solder each pair together (2-3, and 6-7) effectively making 2 windings.
Let me know if this explanations is better.